Johannes Haupt remerge.io
String Art Starter Tutorial
This tutorial focuses on the materials needed to create delicate string art in custom sizes. I’ve found that other guides explain the patterns and stringing nicely, but omit which wood, nails and string to use, so I’ll share an example of the materials and workflow here.
List of materials:
- Wooden Board:
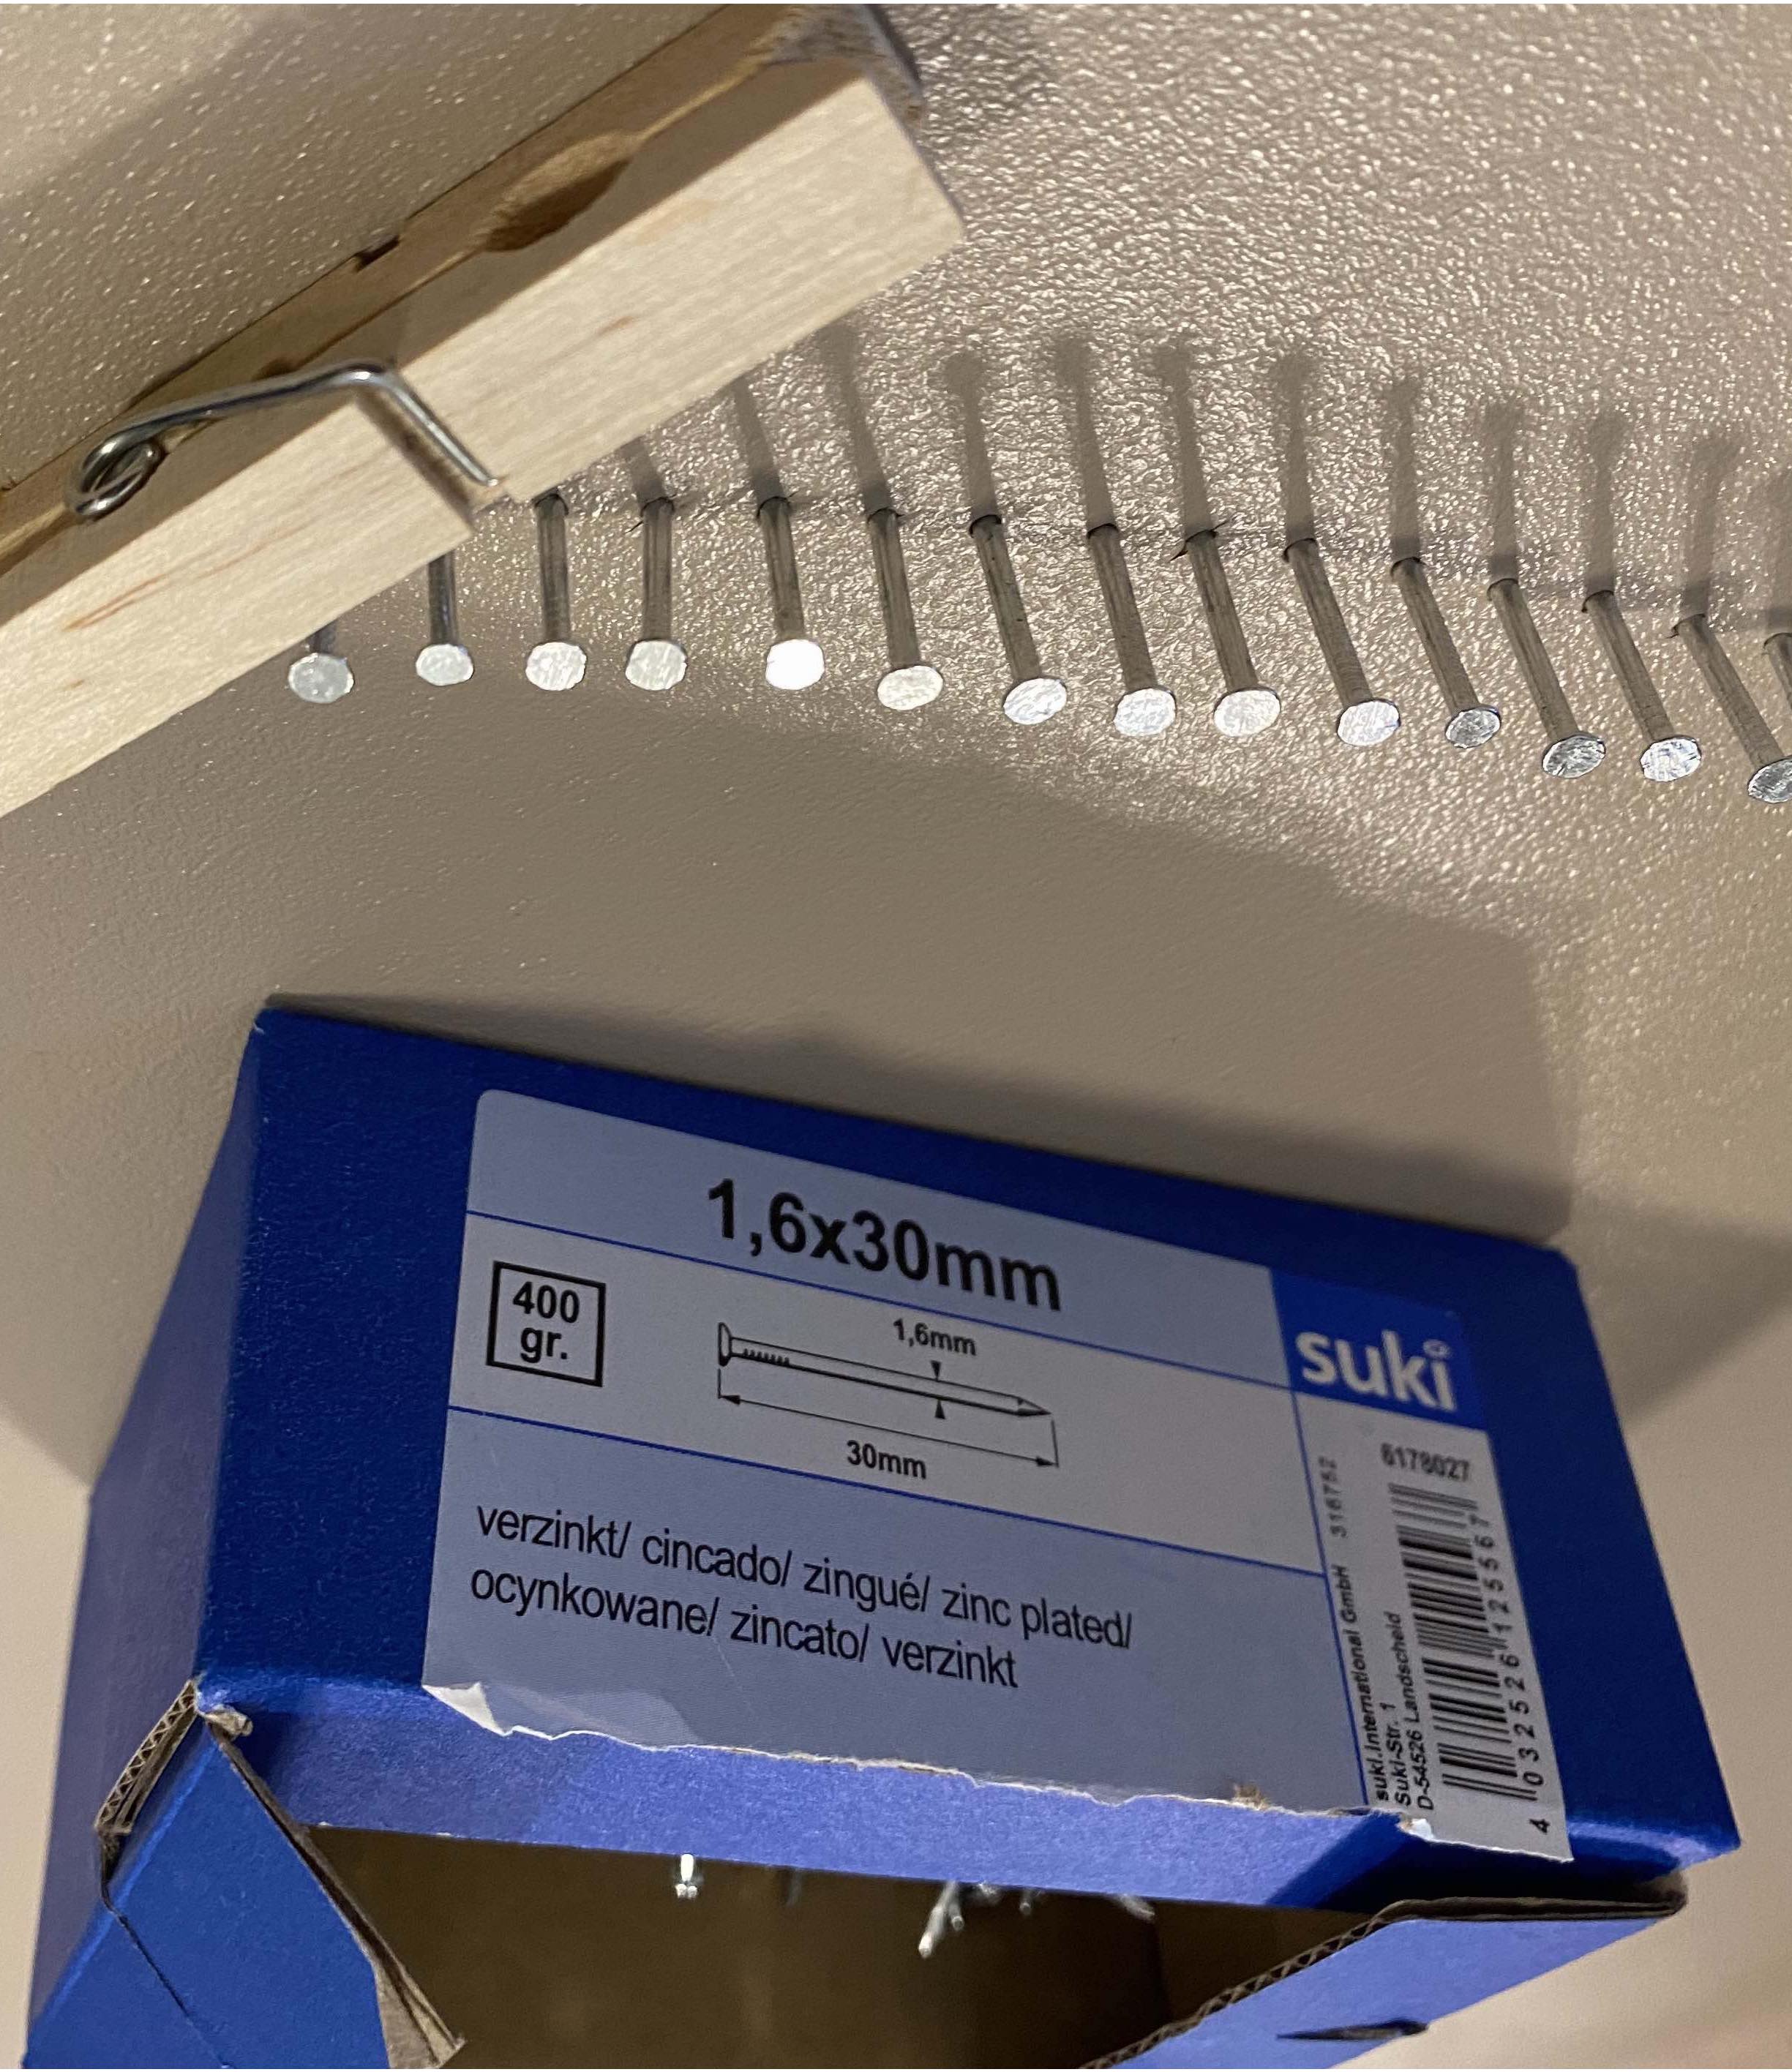
Height and width however large you want the final piece to be. Thickness at least 18mm when matching 30mm nails. - Nails:
Construction nails or similar with a wide head. I used 1,6x30mm construction nails but 25mm should be fine. For a 60x60 cm board, you will need ~300 nails for this design. - String:
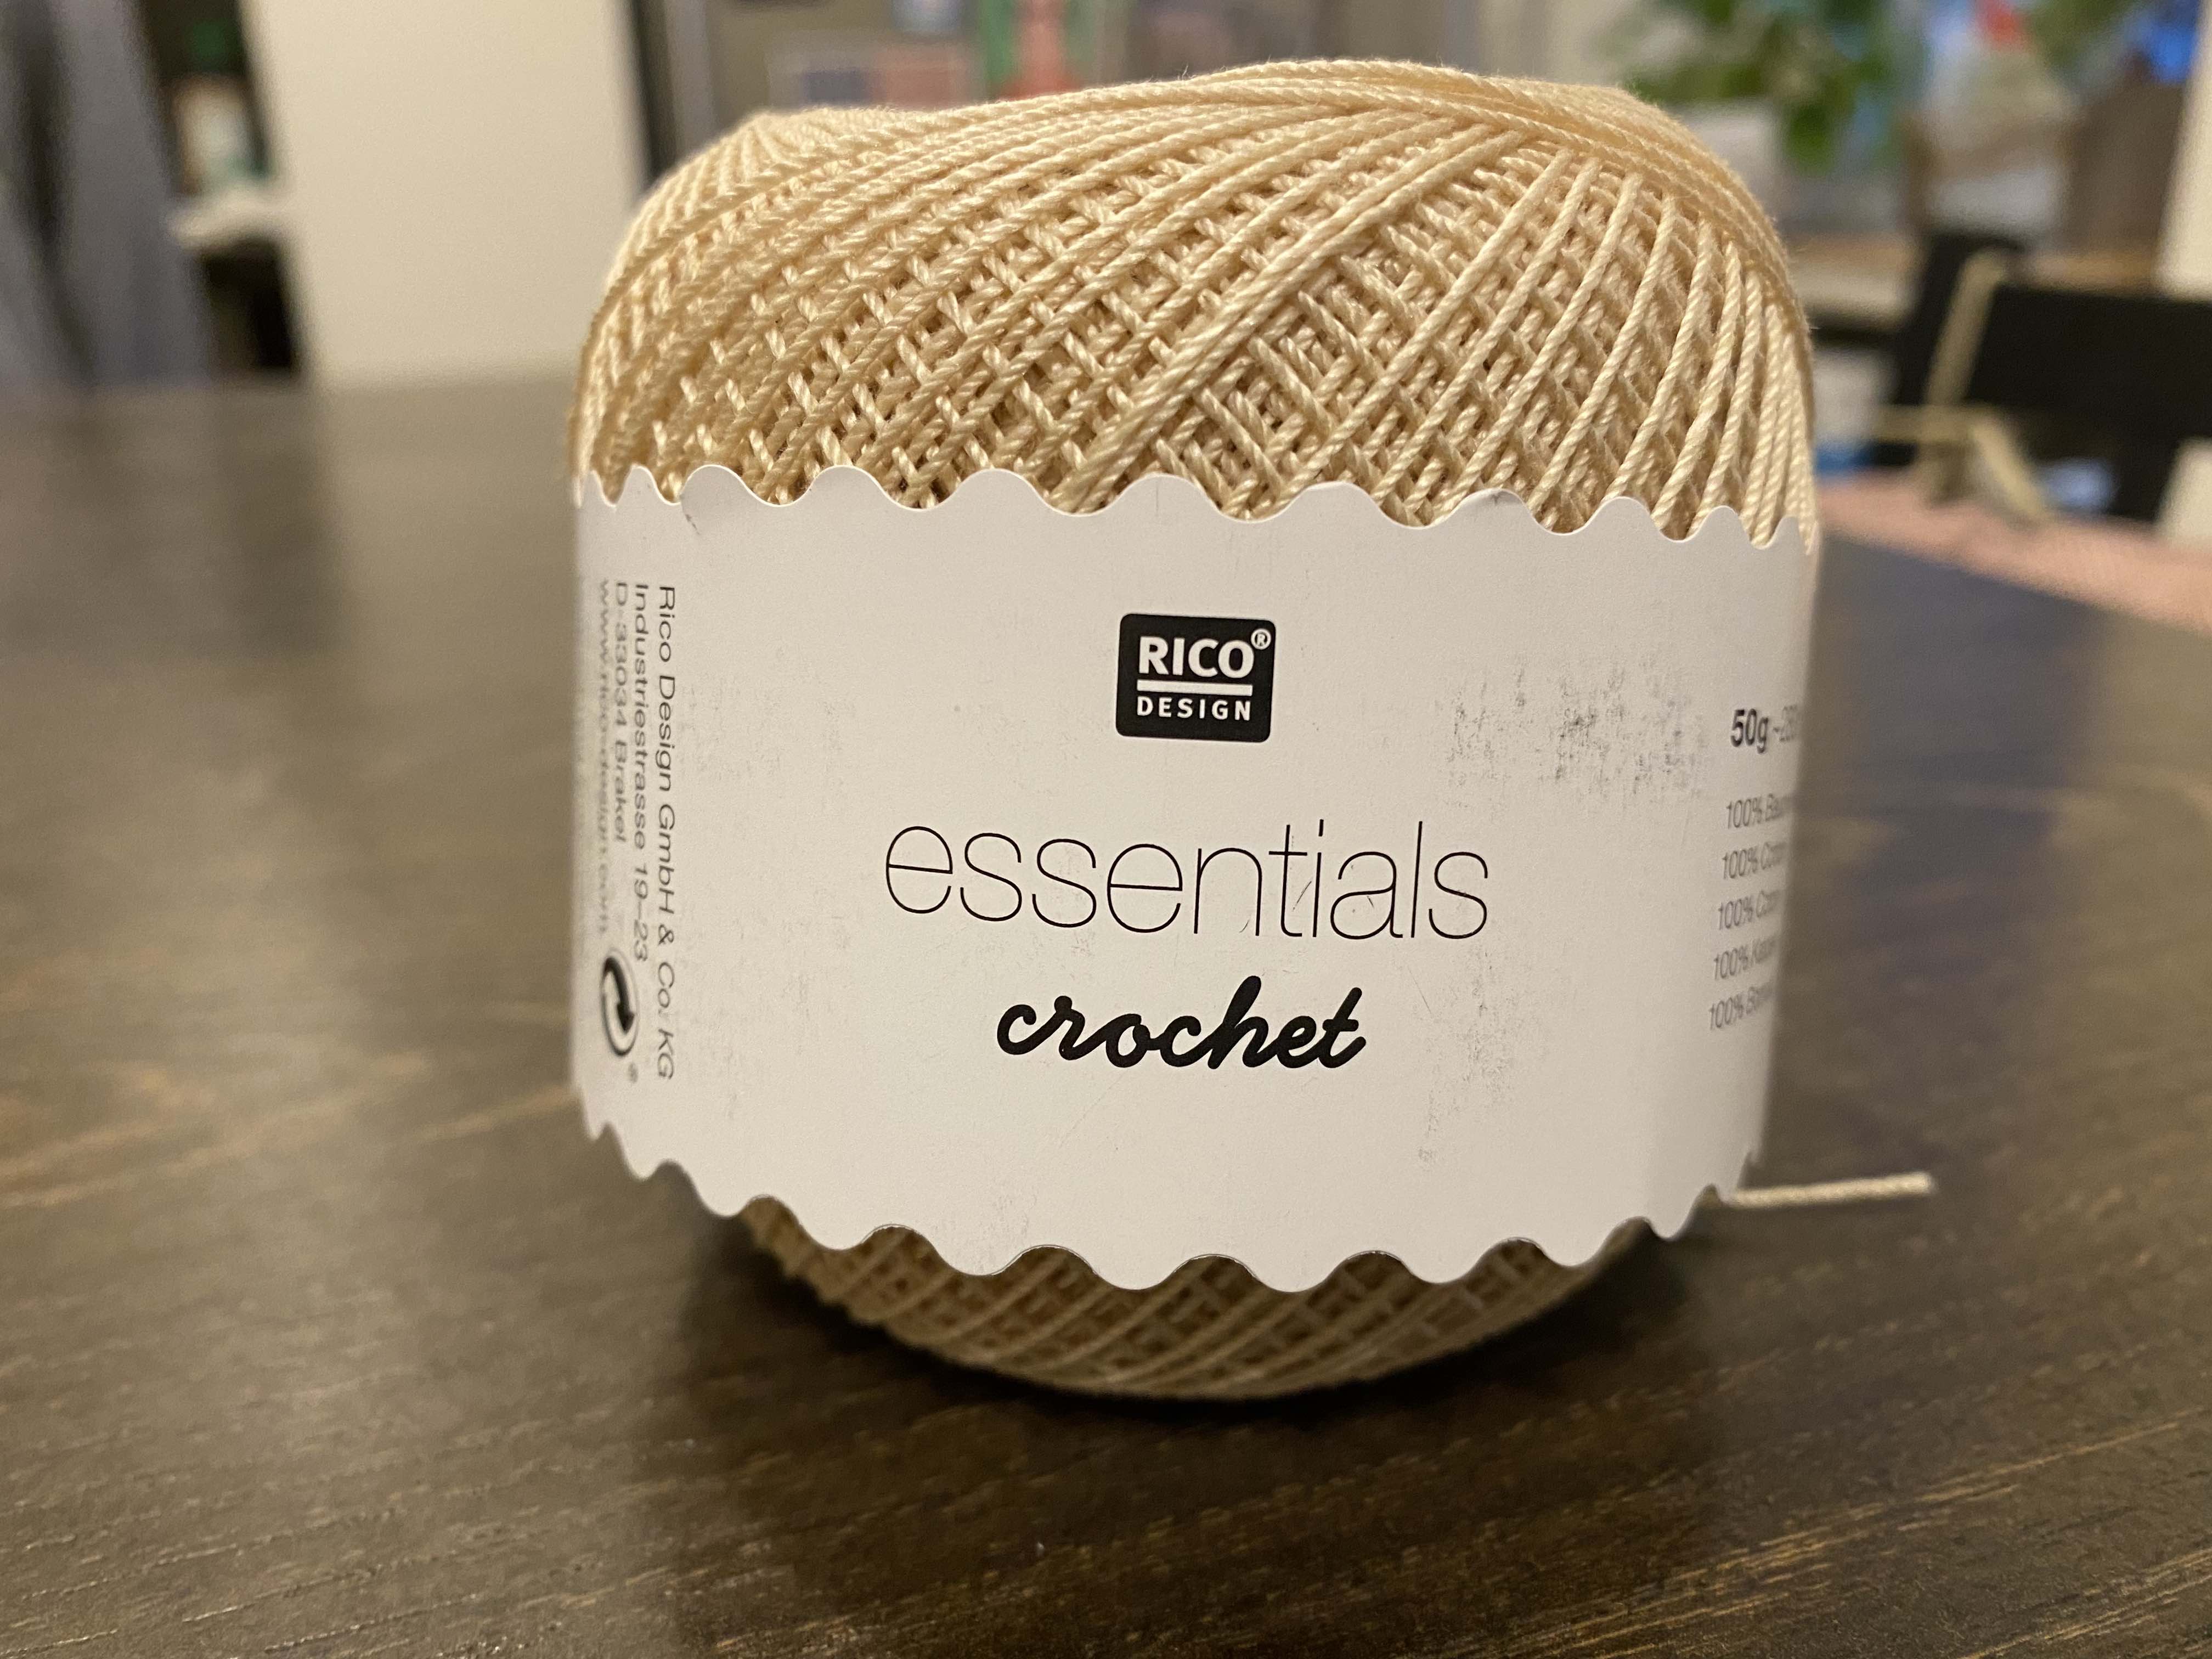
~0.5mm wide for a delicate look, 200-280m length was enough for each of the two 60x60 cm patterns below. - Netting needle or ice cream stick:
Moving the second color string below the first color requires a tool to re-wrap a length of string and move it below the strings and through the nail gaps. Because the gaps are small (<=1cm) a small sized netting needle is better. - (Optional) Crochet hook or toothpick:
A small tool can help to direct the string from the inside of the circle to the outside to direct it around a nail.
Tools:
- Hammer
- Sandpaper (120 and 180)
- Wood paint and paint roller
- Optional: Awl
Prepare the Frame
Prepare the template
I bought a printeable template from SSONGG on etsy. It is a small investment for good template and for pointers on the workflow and how to wrap the string, so I recommend it. Ultimately, I wanted a bigger size artwork to be more prominent in my living room, so I recreated the template from scratch.
To scale up the circle of the design and increase the number of nails, I created my own template using Inkscape. I created a document with the same size as my board (60cm x 60cm) and used this trick from the Inkscape forum to create a circle with a diameter of 54 cm consisting of 268 small circles with the same size as my nail heads (diameter 3mm). I’ll give the steps again below since the gif is a bit fast.
To create the template we need to know: how many nails make up our structure? More nails give a more intricate design, but are more work to hammer in. Also, you need enough space to push the thread between the nails, especially if you are using a netting needle. I settled on a 7mm space, although I couldn’t wrap much thread around the netting needle before it got too thick to push between nails. Around 1cm should work well for me to create an intricate design that is still convenient to string.
How to create the template in Inkspace. Creating a fixed number of nail circles (N) in a circle shape of fixed diameter (d cm):
- Divide 360 (degrees of a circle) by N, the number of nails you want in your circle. This number is the rotation degree between the nails to make up a full circle. We will input that to Inkscape.
- In Inkscape, create a single circle object that has the same diameter as your nail heads. For my that are 3mm. Move that circle to the top of your circle. The easiest way is to input the coordinates, using the board size and the nail diameter. Inkscape expects the coordinates of the top left corner, not the middle, so for me that was 300mm/2 from board size - 3mm/2 from nail diameter for the X coordinate. For the Y coordinate take the space of the margin between circle and end of the board, e.g. for me 30mm maring - 3mm/2 nail diameter.
- Move the “center” of the small circle to the middle of the board. We will clone the circle around that middle-point to create the larger shape. Double-click on the nail circle to enter rotation mode. Then click and drag the cross in the middle of the nail circle to the middle of the board. For me that was coordinates 300/300.
- Create “Tiled clones”. Make sure the nail circle is selected and open Edit > Clone > Create Tiled Clones… to open the Tiled Clones menu. In the tab “Shift”, activate the checkbox Exclude Tile for Per Column. This makes sure that we rotate around the middle of the circles igoring their width. Move to the tab “Rotation” and under Per Column, type in the degrees that you calculated in step 1. Click on the button “Create” to create clones of the nail circle in the shape of a big circle.
- Optional: Create another big circle shape with diameter d that connects all the nail circles. This circle line is not necessary, but makes it easier to connect the template if you print it over multiple pages and glue them together.
- Save the template as image. Inkscape saves the image as png which can be cut into DIN A4 sized pieces for easier printing.
Cut the full-size template into printeable pages.
For most sizes, the template is bigger than the DIN A4/letter paper home printers can print. An easy solution is to print the template onto several pages and then tape them together. I used the free website posterazor with a 2 cm border all around and no overlapping. In step 4, select option “Size in Percent” and 100% to print the full size of the template. For comparison, I printed my 60x60 cm piece on 12 pages.
The border was necessary because my printer can’t print to the very edge of DIN A4 pages. When printing on OSX, the print menu has an option “Paper Size” and at the end of the scroll down menu the entry “Manage Custom Sizes”. I typed in the same border here and on the website to make sure the print has the correct size and border.
Paint the wood backpiece
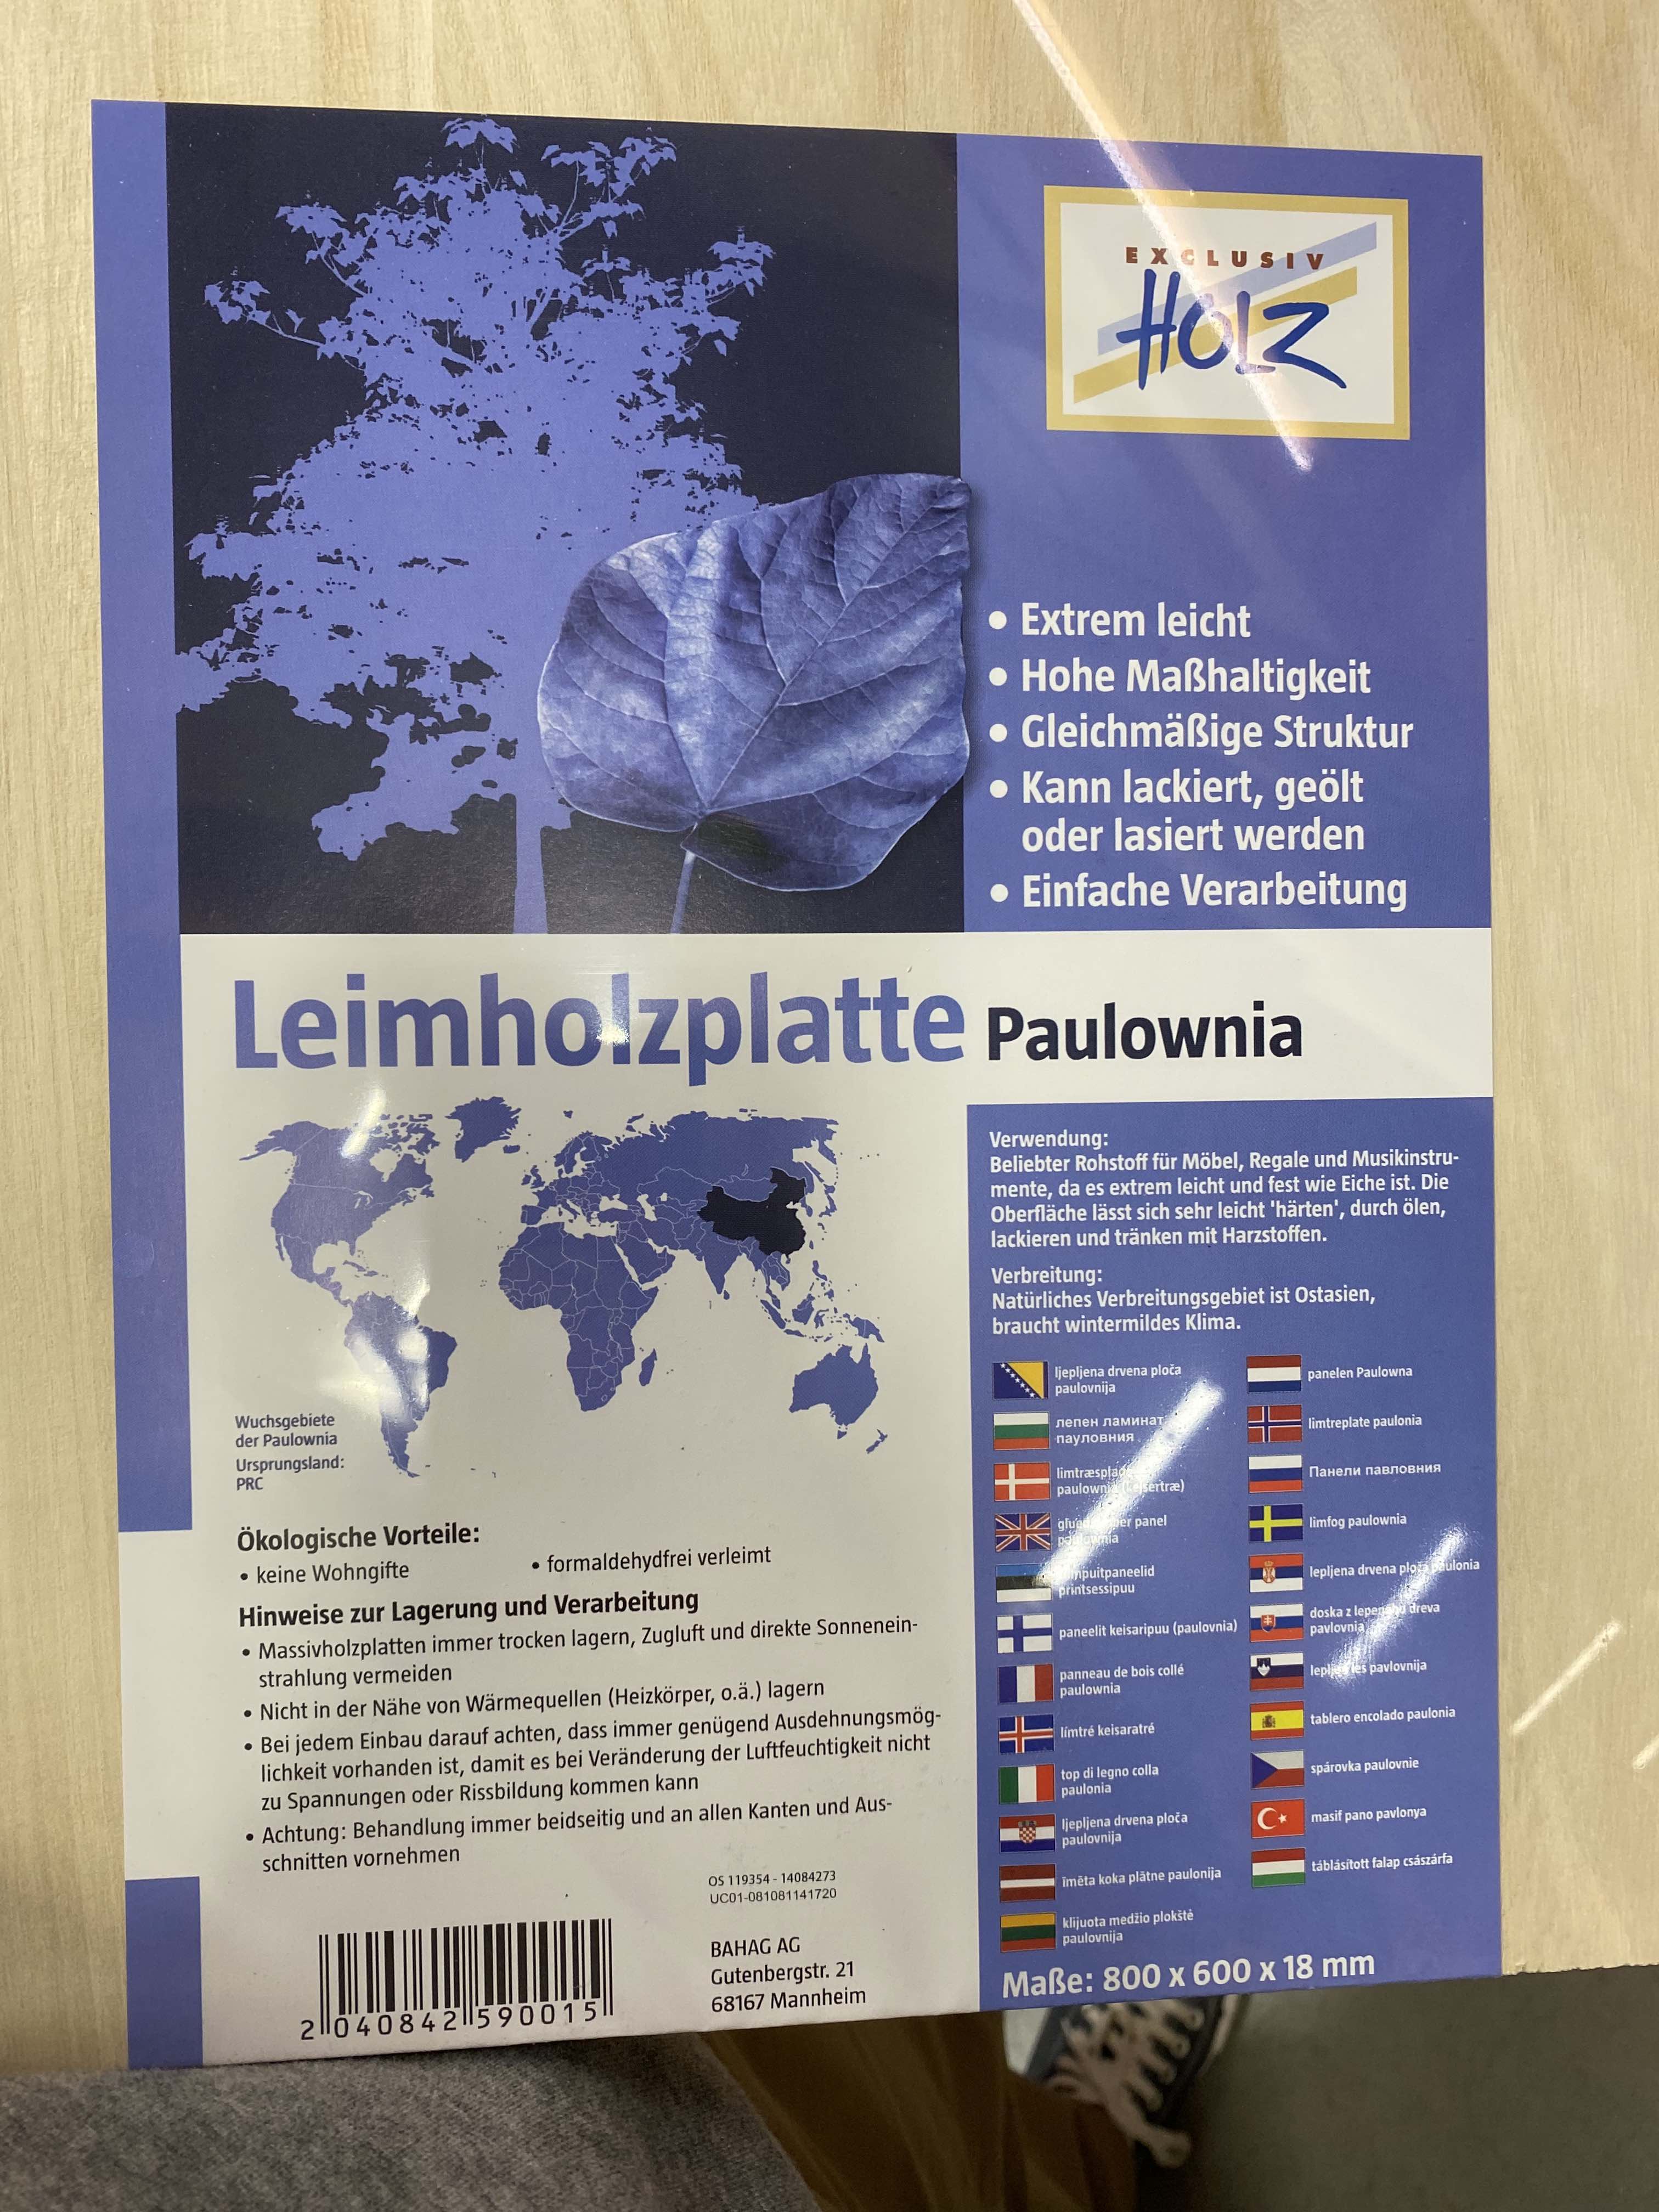
I don’t know much about wood, so I picked cross-laminated timber (dt. Sperrholzplatte) of Paulownia. The wood is lightweight, so the finished piece weights just over 2 kilograms and is easy to fix to a wall. When picking the wood, look for something soft that doesn’t splinter when hammering in the nails.
I followed a Youtube tutorial on how to sand down and paint the wood in a color that fits my living room. Expect to paint it twice for an even and opaque finish and plan sufficient time for this step. The paint I used had a 12 hours drying period after each coat of paint. When buying paint, confirm with the shop that it will not splinter when hammering nails into it.
Hammer in the nails
Hammer in the nails on which you will wrap the strings. This step is loud and takes a lot of time. My wife and I working working in parallel hammered for ~45 minutes (shoutout to our patient neigbors).
First, tape together the pages of the template and fix it to the board. You can tape the template to the board, but check if the tape damages the paint when removed. Alternatively, temporarily hammer in four opposing nails. Use an awl or a nail to punch through the template paper and into the wood to mark the nails’ locations on the board. Then remove the template (you can keep it and reuse it) and hammer in the nails at the marked locations. Be careful not to hammer the nails through the board completely and to keep the same length sticking out of the board.
Tips:
- Do NOT hammer the nails on your kitchen table without a piece of wood or old blanket below. You might hammer a nail through the board and into the table below.
- Stop and compare the nail height over several nails after every 10th nail. It’s easy to change the length slightly over time without noticing.
Connect the Dots
Wrap the string around the nails to create the pattern. You can find instructions in templates for sale like the one I linked above or on Youtube, so I won’t go into the pattern itself here. Stringing the piece to less time than I expected, around 90 minutes not counting breaks in between and this being our first try.
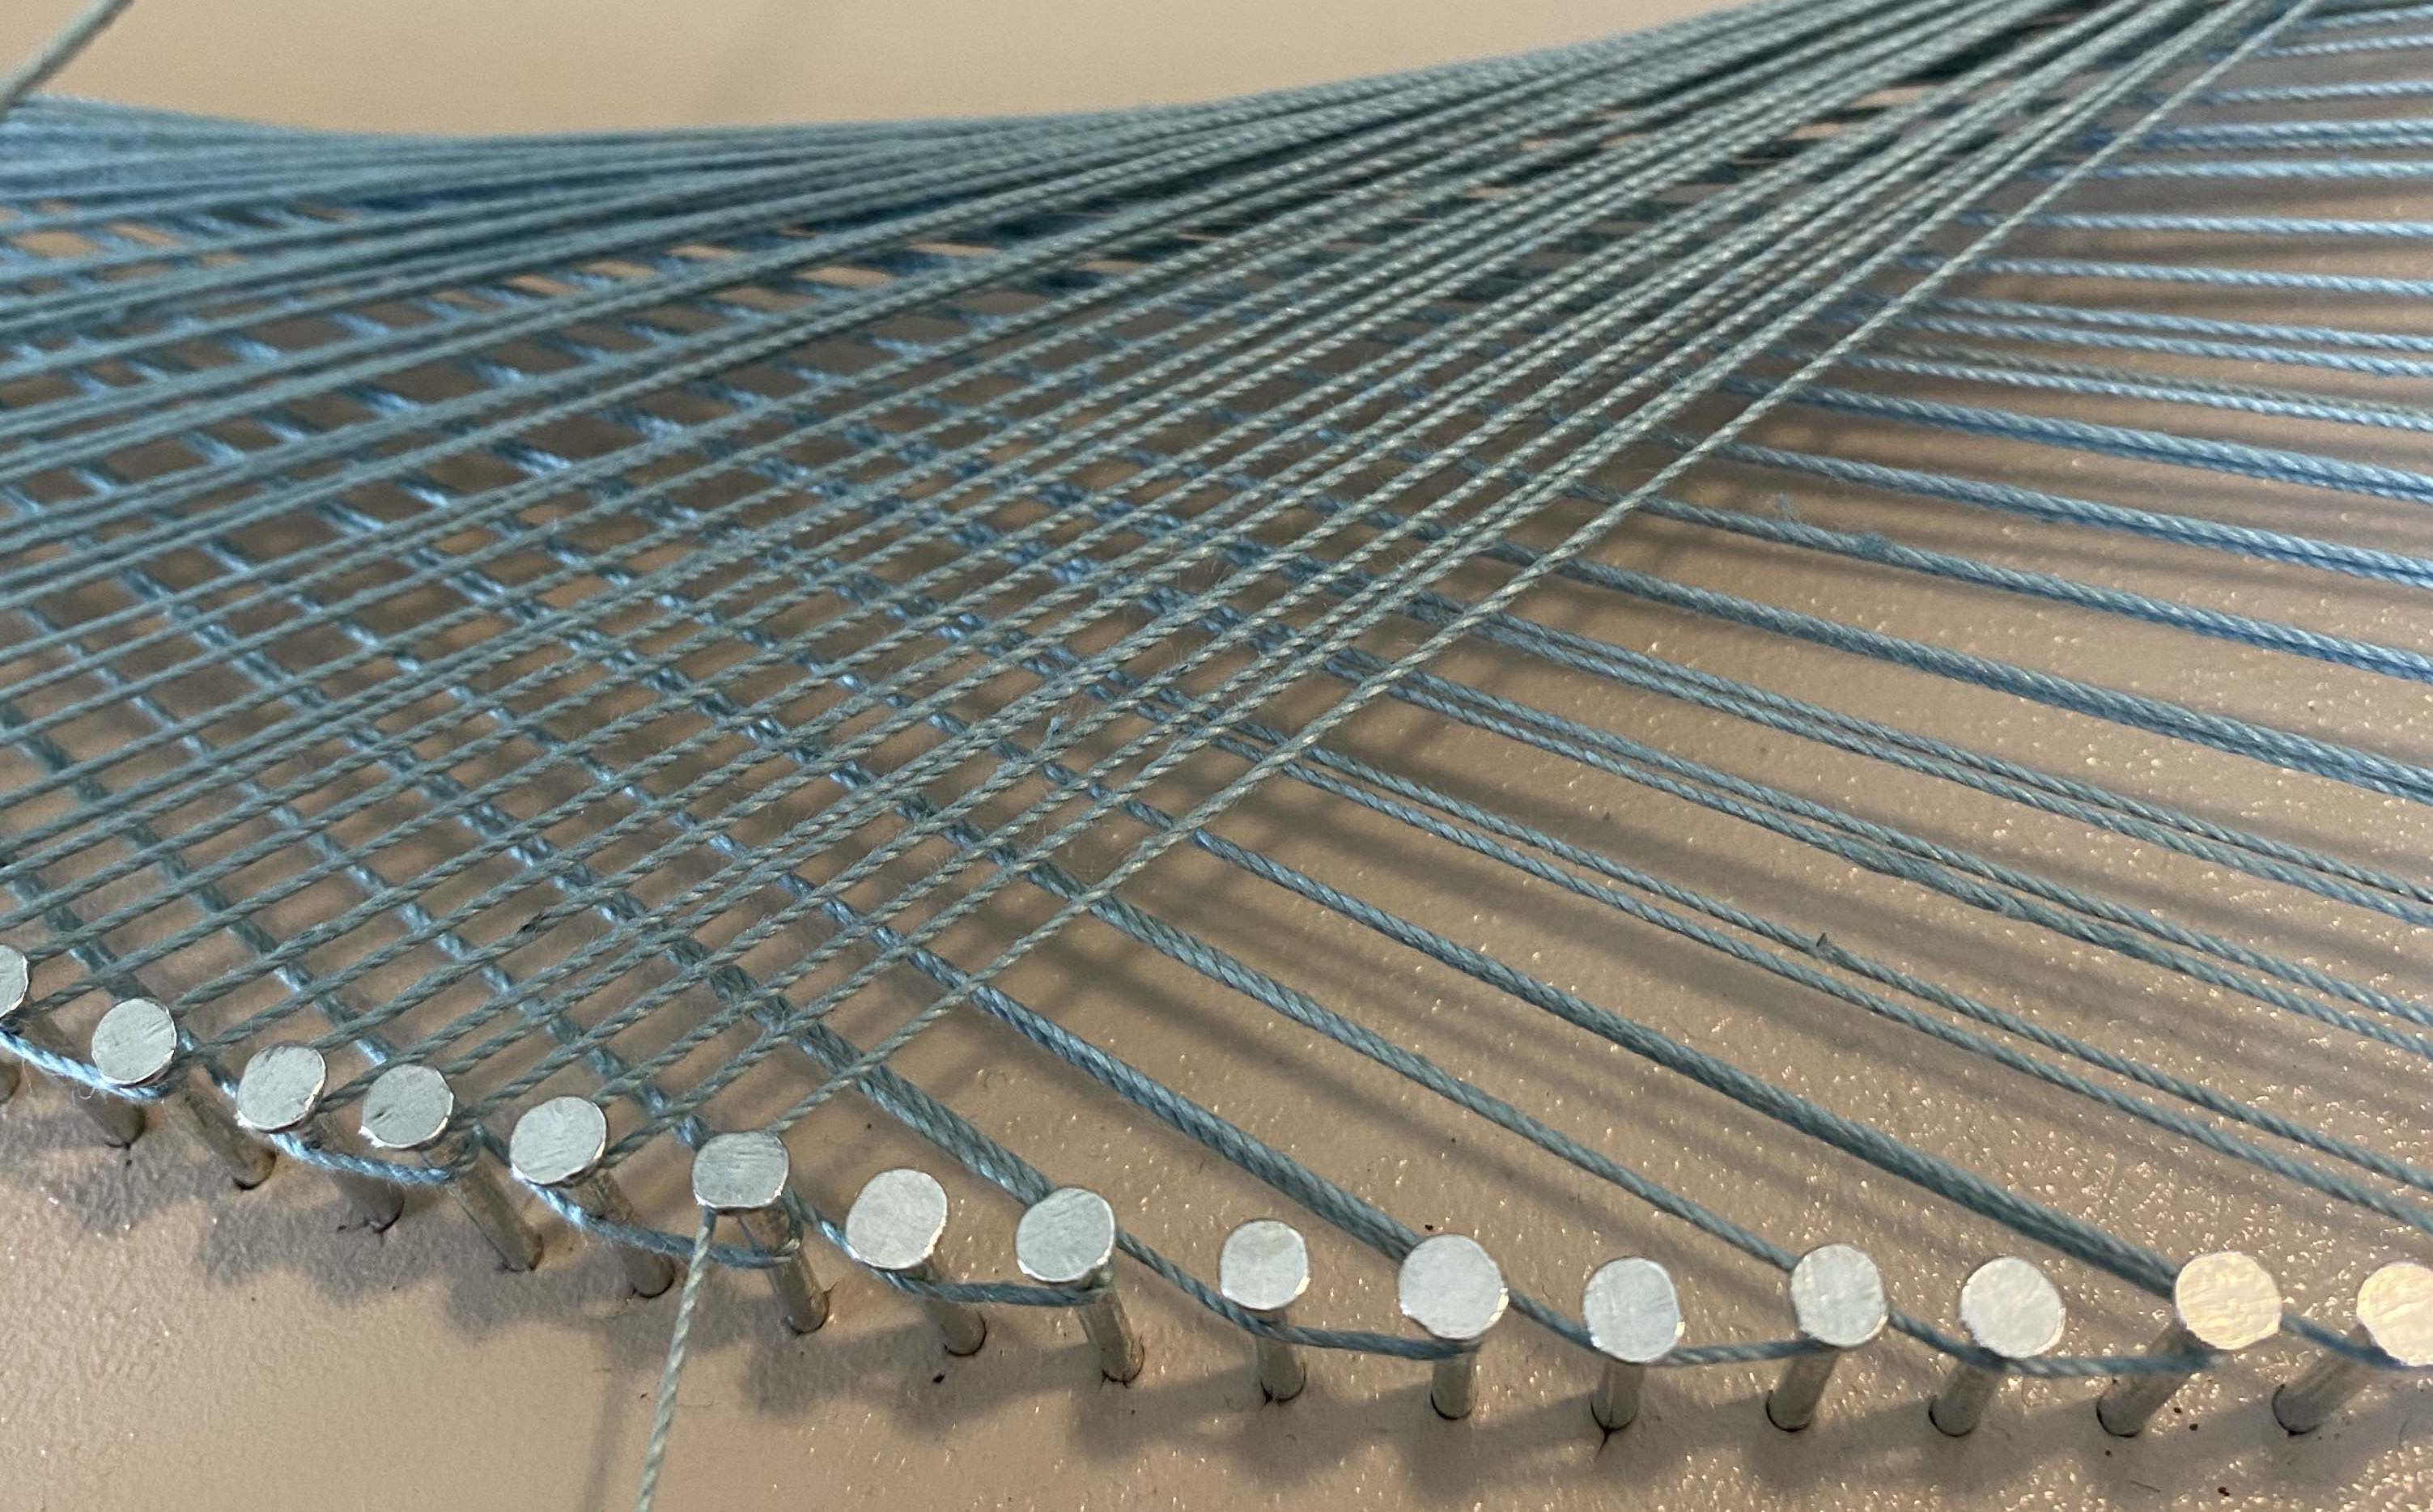
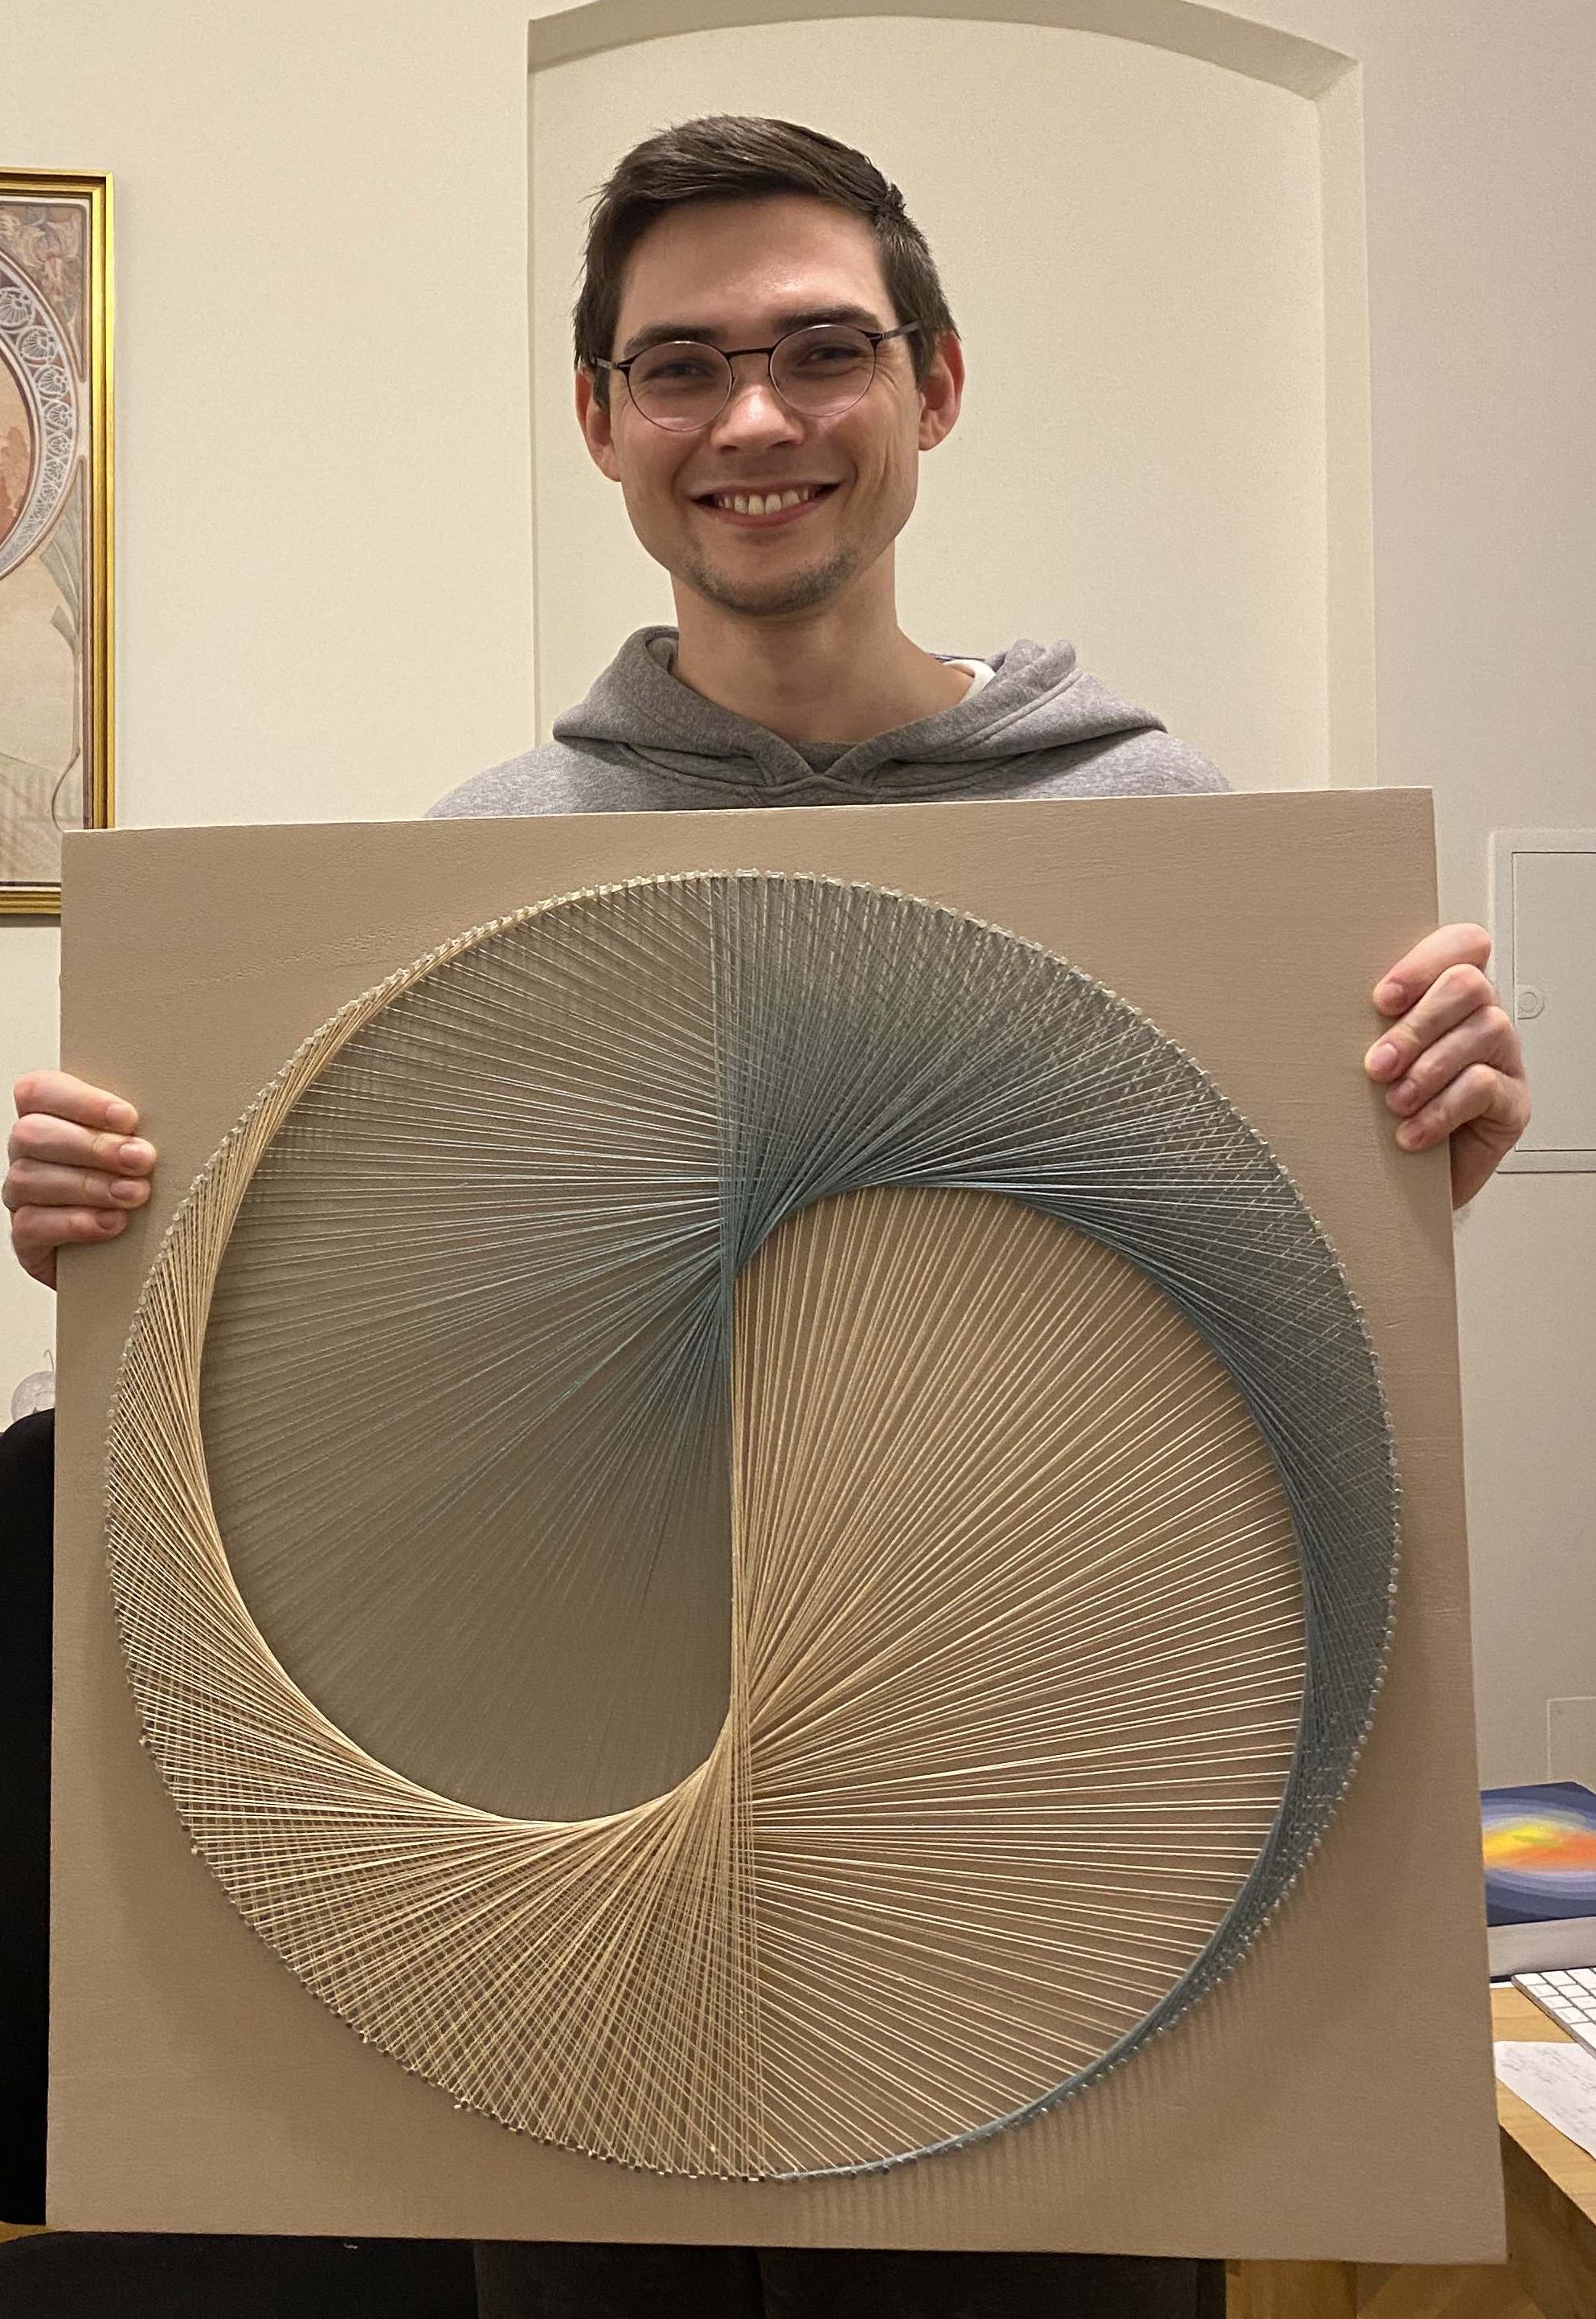
To begin, tie the string around the first nail in a double granny knot. Keep the string taunt and wrap it around the nails in the order of the pattern. When you begin, carefully check if you wrap your string around the nail from the outer or inner side and then follow the same pattern for the rest of the piece. The direction will determine if and how the string crosses when coming back towards its starting point and the completed pattern will look noticeably different. I had to check the instructions multiple times and it helped to look at the pictures very carefully, compare the pictures to my own and to try a few iterations to see if it looked right.
While strining, it helped me to lead and pull the string with one hand to keep it taunt while pulling it around each nail with a toothpick and later a crochet needle. I drew the string from the spool where possible without cutting off a piece to avoid having to restart.
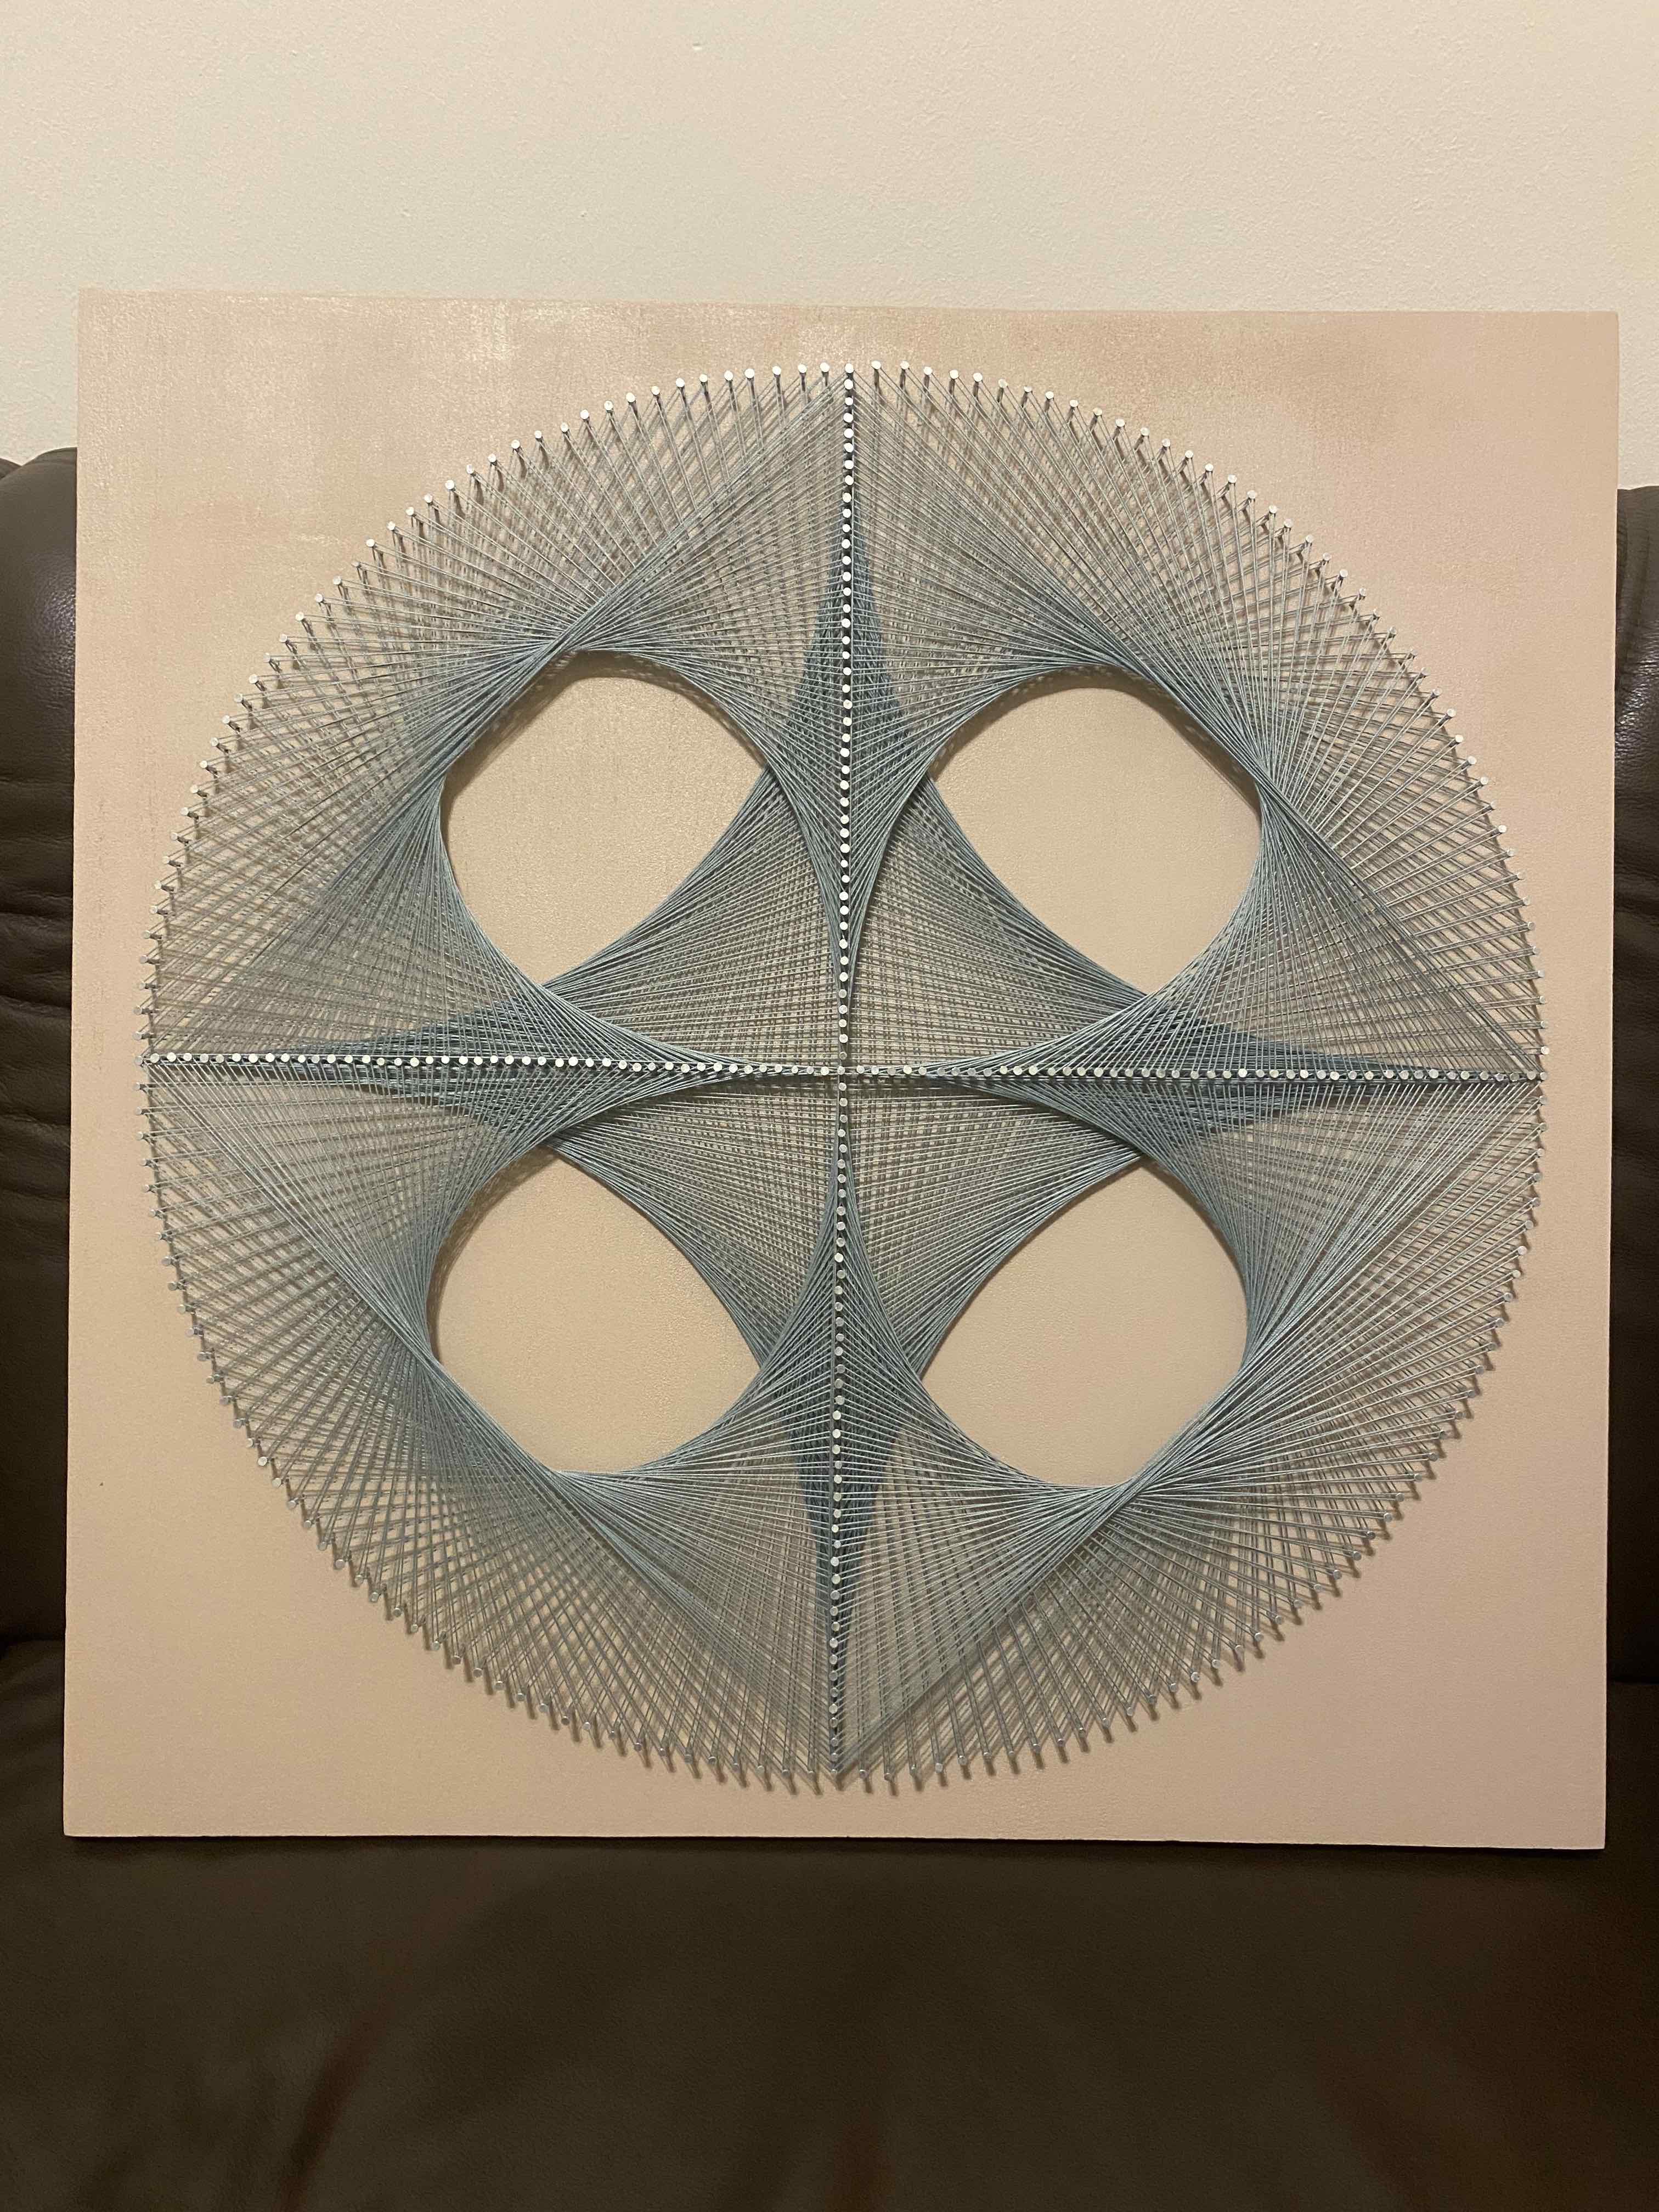
If the pattern has several levels for a 3D effect, these can be created by adding a pattern on top of a completed pattern or they can be overlapping like the Yin-Yang pattern in the picture. For overlapping parts, you will need to push the string below a pattern you’ve created before, which was more troublesome than I thought. I bought a netting needle for this purpose, which has a pin in the middle to wrap a piece of string around that moves under top-level pattern with the needle. Sadly, the needle plus string were too broad to pass between the nails, so I ended up using an ice-cream stick with string wrapped around it, which worked reasonably well, but I had to restring it around 10 times.
The End
My wife and I really enjoyed the process of creating our own string art. Looking at the final piece of art, I would now pick a background color with more contrast to the string. As a follow-up project, I am also looking into how to create a frame around the pattern because it improves the final piece from a do-it-yourself craft to the art pieces you can find on Etsy.